Friday, August 30, 2013

Nailart: Galaxy


I did these galaxy inspired nails back when I was doing the nailpolish challenge on Instagram. I honestly think that these are the prettiest I've ever done them and I am now regretting my decision of wearing them only for a day (darn you daily challenge!!). But on the bright side, at least I took pictures!


If you want more nailart pictures, please visit my instagram http://instagram.com/erikaalice.


Monday, August 19, 2013

Nailart: Fuzzy Nails


Today's nailart is commonly called Fuzzy Nails. These are really easy to do, all you need is some flocking powder!


It took me a really long time to find the flocking powder because not a single one of the craft stores here in my place carried them! I was sooo happy when I found them in a nail specialty store in APM. To be honest, they're a bit pricey. They cost 150 pesos for two tiny containers and a nail polish.


The first time I did these they came out a bit patchy (see red nails). They came out patchy because I used a polish that was a "watery" consistency. I find that creamy polishes work better with the flocking powder. Also, avoid using brand new polishes for these as they are almost always a bit more watery.


Saturday, August 17, 2013

Nailart: Begginer's Flower


This nailart design is what I call "begginer's nailart" it's relatively easy to do yet it looks neat and cute. 
It's really hard to mess up so it's perfect for those who want to try their hand at nailart.


Always start with a base coat! I used L.A color's base coat.


I used a light slightly peachy pink for my base. This is from a brand called DIFFI the shade is in A44.


After leaving my base color to dry I dotted on a yellow polish from OMG called banana boat. (You can substitute any other flowery color for this like orange or red) this will be the center of the flower.


I quickly dotted on the petals with a white nailpolish from bobbie called Pure White.


Wait for your design to dry and then you can add a top coat!


That's it! It's that easy and simple to do. If you're a nailart newbie or if you haven't tried nailart, this is one of the easiest fool-proof designs and I hope it inspires you to try.


Nailart: Red Tribal Nailart


I did this design a while back when I was on the nailart challenge. The challenge for the day was to create a tribal design.

I'm not particularly fond of how this came out, I think that it's a bit messy because my red polish was a bit runny at that time but oh well!!

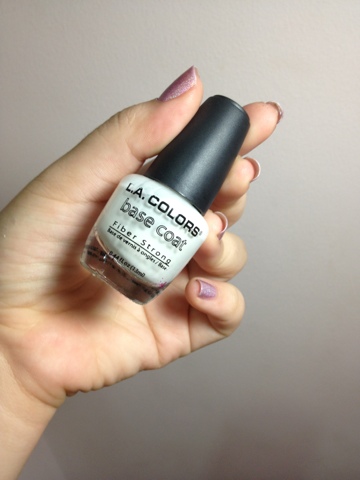
As always, start out with a base coat, I used L.A color's base coat.


For the white base, I used two coats of etude house's white polish in WH702.


After that dried, I used a toothpick to draw on the designs with a red nailpolish from L.A colors called Cranberry Red (NP142). It's a bit patchy because I mixed in too much nailpolish solvent into it. :(


After that dries, you can top it off with a top coat.


That's it! If you guys decide to try this out, please don't forget to show it to me!

If you want more nailart pictures, please visit my instagram http://instagram.com/erikaalice.

Nailart: Cascading Dots


I did this nailart a while back and I thought that my first nailart post should be something relatively simple and easy to do. 

I started off with a base coat, the L.A colors base coat (NP191)


After that dried, I used san san's nailpolish in Blue Sapphire.


For the dots I used a dotting tool and dipped it in white polish, make sure that your dotting tool is generously coated in white polish for the first dot and slowly reduce the amount as you go lower. 

For the white polish I used Etude house's  WH702. If you're looking for a really opaque white, go for this!


Make sure the dots are dry and finish off with a top coat and you're done!!


That's it! If you guys decide to try this out, please don't forget to show it to me!

If you want more nailart pictures, please visit my instagram http://instagram.com/erikaalice.